The away waste knot is an easy start to use when cross stitching. It’s good for beginners and seasoned stitchers. What I like best about it is how easy it is. What I like least is how messy it makes your project appear. I use this start though, when I am stitching with an odd number of threads.
You can use the away waste knot and position your stitching so it goes over the string right away. I am not doing that here because this project is completely filled. There are no spaces without stitching, so I just go towards center and down. This is a versatile stitch though and can be adjusted to fit what you are working on.
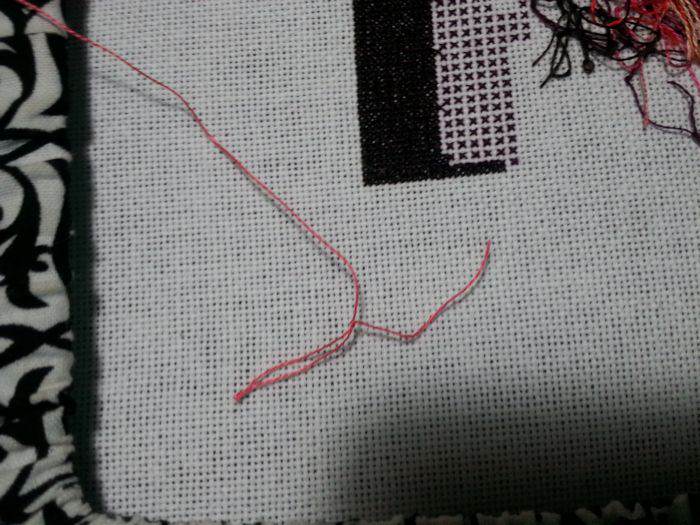
Here is how ugly my knots are… I have watched the other tutorials that you probably see where there is a cute little knot at the end of the thread. Nope… that isn’t me. I fold over my thread about 1/2 inch and then loop it around so there is this sort of knot. (I’m stitching on 28 count, so this is just a single strand.)
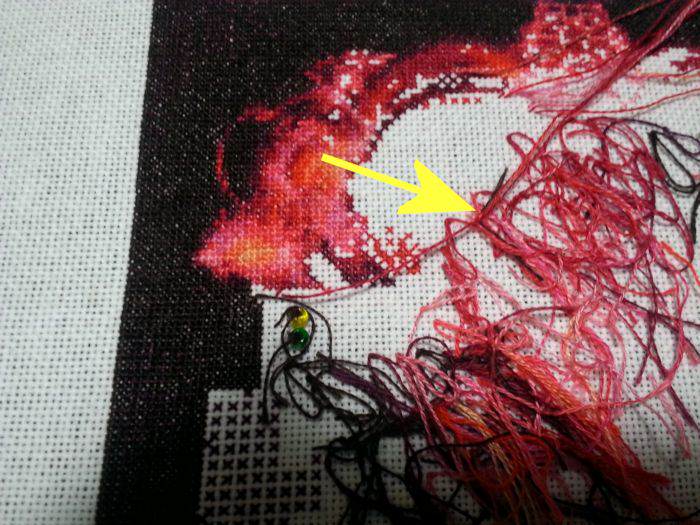
In this image, I’m simply showing you where my stitch is going to be.
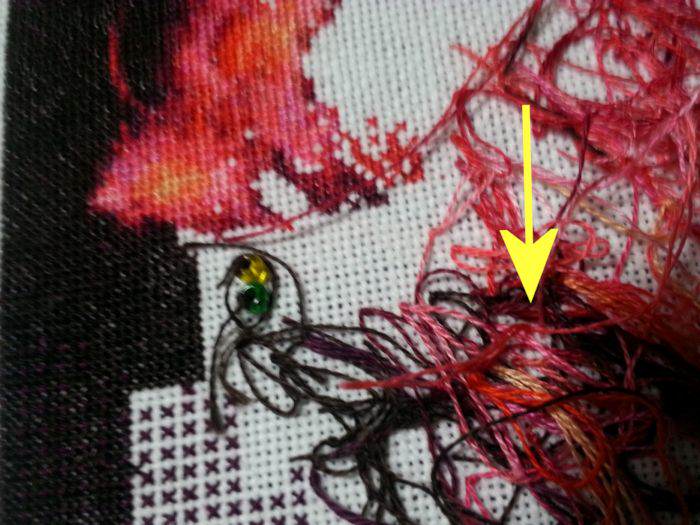
Here you can see, I’m about an inch away. I try to be at least 20 stitches away, so on 28 count that is roughly an inch.
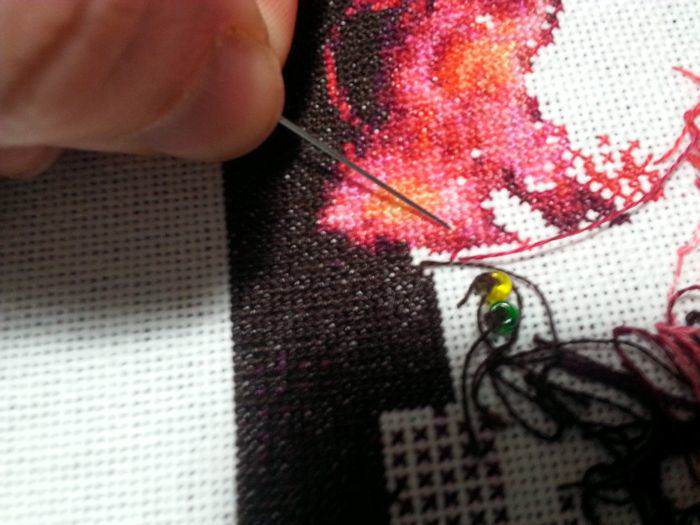
I just pull my needle down, so the knot catches. Remember this is on the top of your stitching.
I then can just do my stitch, I’m pulling my first quarter of my stitch up here. You basically just start stitching. It’s really an easy technique.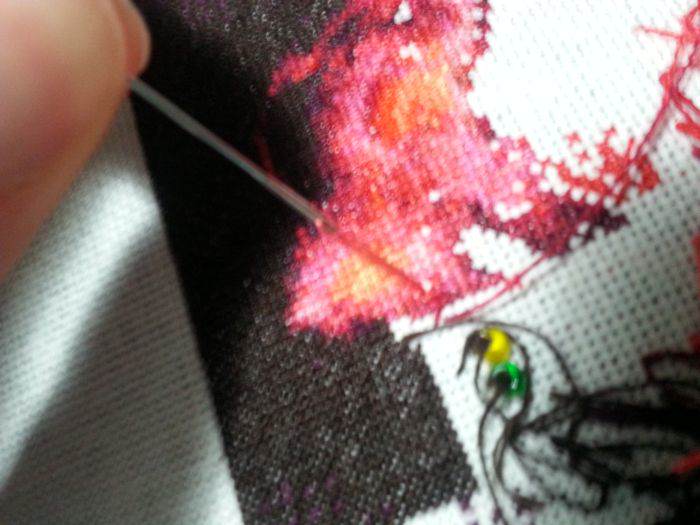
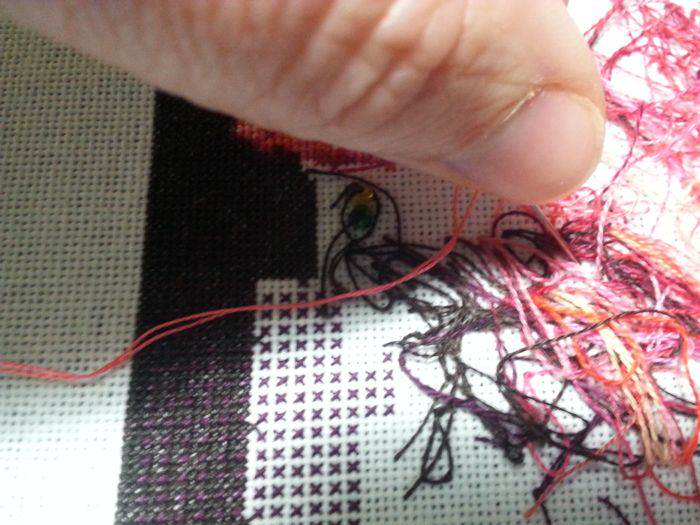
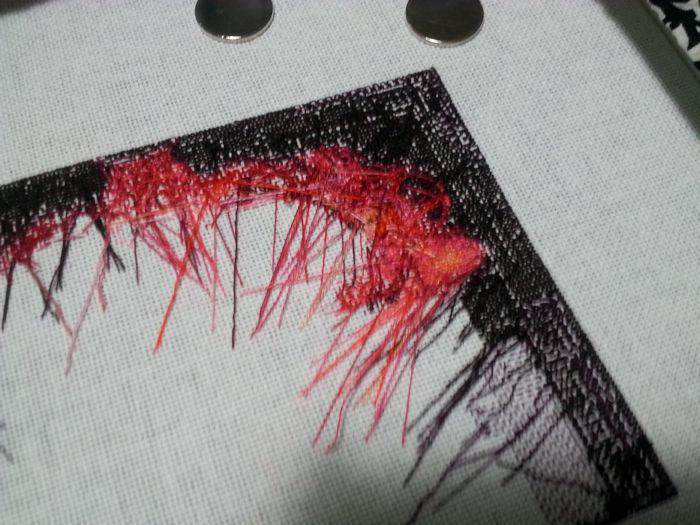
You can see here. I also finish with a bit of a waste knot technique. I’ve finished all the stitches of this color, so I’m pulling my needle up about an inch from where my last stitch was. I just make that string short and tie it into the pile of knots that is already there.
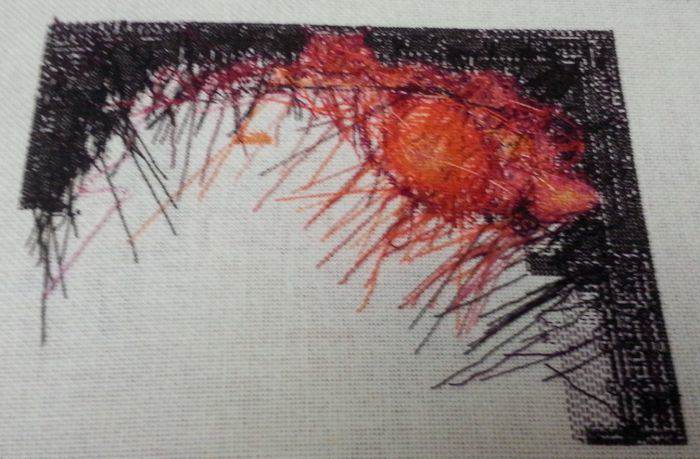
A lot of people are concerned with the way the back looks using this method. Well… here is my back. You can see all the little strings jetting down and inward, which is always how I point them. These strings will be stitches over naturally as I progress with my stitching.
Now, I’ve stitched quite a bit… I never really talked about how you get rid of the knots, yet. I guess that is rather important. Well.. it’s quite simple. You continue to stitch and when you get to a knot. You snip it. To do this… on the front, just give it a tight tug so there is no give in it, maybe even stretch it if you can call it that. Snip it close to the fabric… and that will release the pressure and the thread will recess to the back of your stitching. You’ll never see it.
I wanted to show you that the back never really does get more messier and you truly can’t see it that much. Here is my stitching now, it’s quite a bit further. You can compare above here with below.
Here you can see the back… the old strings are covered and the new ones pointing inward.
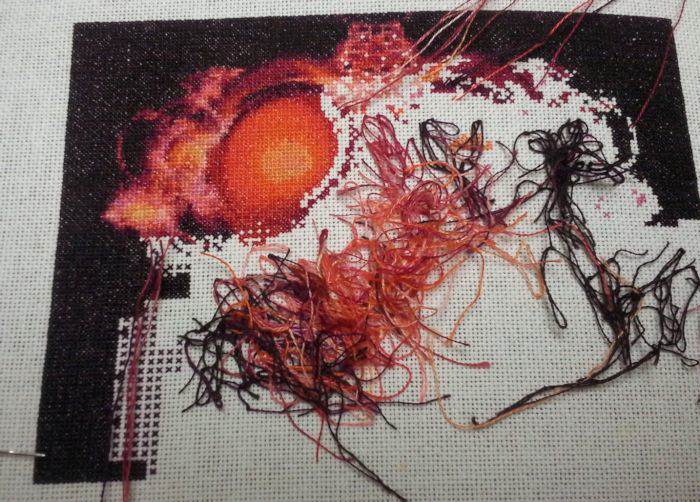
This project is the Wired Heart piece. You can find the chart here.
This project has been completed images are here in the completed gallery. You can see the front and back of the completed project. The Away Waste knot was used through the project. Also, check out the other completed projects while you are there..
If you have any questions or comments about the Waste Knot tutorial, please let me hear them here.